INTRODUCTION:
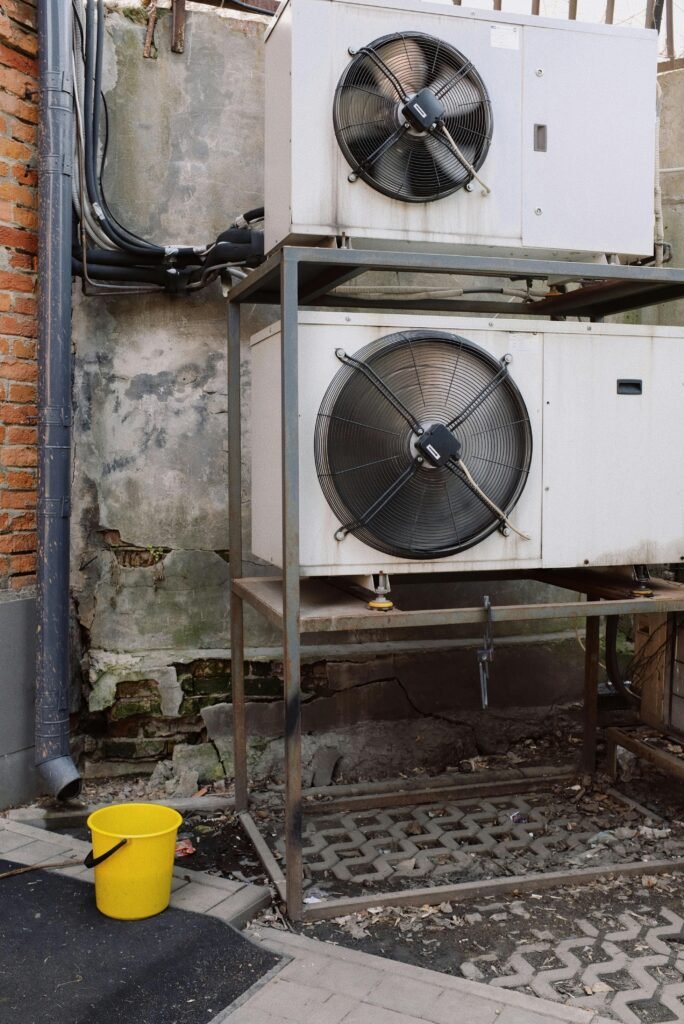
Your AC condenser coils are one of the hardest working components in your entire cooling system — and one of the most neglected. Sitting outside year round, exposed to dirt, grass clippings, cottonwood seeds, pet hair, and whatever else the weather throws at them, condenser coils gradually become coated in a layer of grime that acts like insulation and prevents your system from releasing heat efficiently.
The result is an AC that runs longer, works harder, costs more to operate, and wears out faster than it should.
The good news is that cleaning your condenser coils is one of the most impactful HVAC maintenance tasks you can do yourself — it requires no special skills, costs almost nothing, and takes less than 30 minutes. Most homeowners who clean their condenser coils notice an immediate improvement in cooling performance and a measurable drop in their energy bill.
This step by step guide covers everything you need to know to clean your condenser coils safely and effectively.
H2: What Are AC Condenser Coils and Why Do They Get Dirty?
Your AC system works by moving heat from inside your home to outside. The condenser coils — the series of thin metal tubes and fins that wrap around the outside of your outdoor unit — are where that heat gets released into the outdoor air.
A condenser fan pulls outside air through these fins while refrigerant flows through the tubes inside them. The refrigerant carries heat absorbed from your home, and as outdoor air passes over the coils that heat transfers out.
When the fins become coated in dirt, dust, grass, and debris, air can no longer flow through them freely. Heat that should be escaping outside gets trapped instead — forcing your compressor to work harder and your system to run longer cycles to achieve the same cooling effect.
Over a single season a dirty condenser can reduce your AC’s efficiency by 30 percent or more. Over several seasons without cleaning the buildup becomes severe enough to cause compressor failure — the most expensive repair in any AC system at $1,000 to $2,500 or more.
H2: How Often Should You Clean Your Condenser Coils?
For most homes cleaning the condenser coils once a year — ideally in early spring before cooling season begins — is sufficient. However certain conditions call for more frequent cleaning:
- Pets: Dog and cat hair is particularly good at clogging condenser fins. If you have pets clean the coils every six months.
- Cottonwood or pollen: Homes near cottonwood trees or in high pollen areas may need cleaning two to three times per season as the fluffy seeds pack densely into the fins.
- Nearby lawn care: If your landscaper regularly blows grass clippings toward your unit or mows close to it, check the coils monthly during mowing season.
- Dusty environments: Homes near dirt roads, construction sites, or in arid climates accumulate coil buildup faster than average.
A quick visual check every month during cooling season takes 30 seconds and tells you immediately whether cleaning is needed.
H2: What You’ll Need
Gather these items before you start:
- Garden hose with a spray nozzle
- Soft bristle brush or fin comb
- Fin comb (optional but recommended — available on Amazon for under $15)
- No rinse coil cleaner spray (available at hardware stores and Amazon)
- Flathead and Phillips screwdrivers
- Work gloves
- Safety glasses
A no rinse coil cleaner is strongly recommended over water alone — the foaming action penetrates deep into the fins and lifts embedded dirt that a hose alone can’t remove. A good coil cleaner costs around $10 to $15 and makes a significant difference in how thoroughly you can clean the coils.
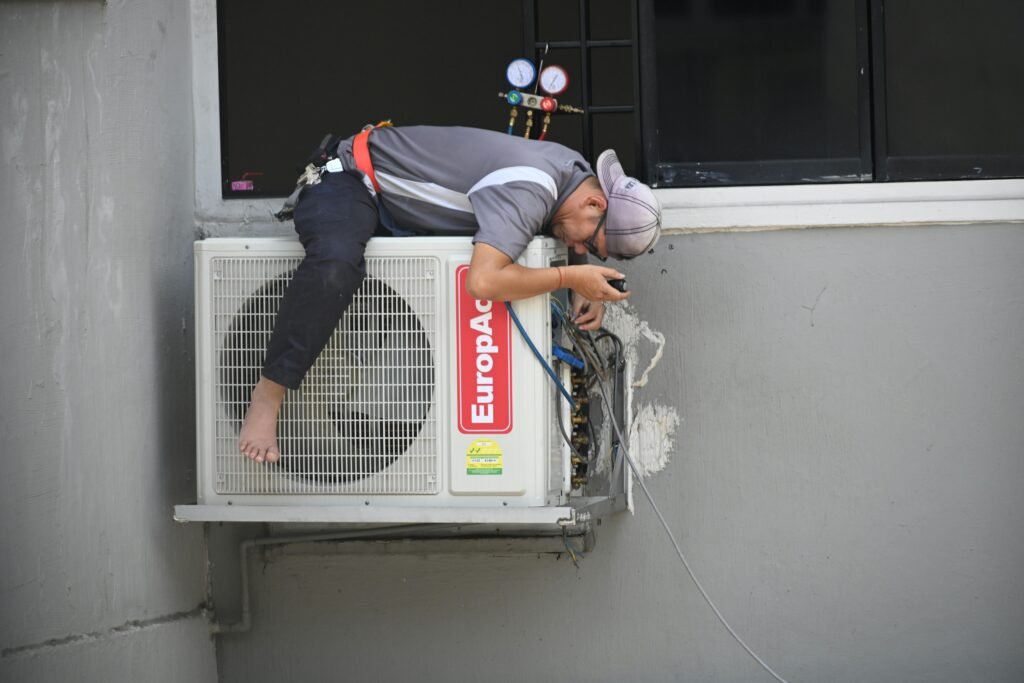
H2: Safety First — Before You Touch Anything
Working on your outdoor AC unit requires cutting power completely before you start. This is not optional — the condenser unit contains a large capacitor that stores an electrical charge even after the system is turned off at the thermostat. Contact with a charged capacitor can cause serious injury.
Follow these steps every time before working on your condenser:
Step 1: Turn your thermostat to off — not just fan only, but fully off.
Step 2: Locate the outdoor disconnect box — a grey or black box mounted on the wall near your outdoor unit. Open the cover and pull out the disconnect block completely. Some units have a simple on/off switch instead — flip it to off.
Step 3: Go to your home’s main electrical panel and switch off the breaker for your AC unit as a second layer of protection.
Step 4: Wait five minutes before touching any internal components. This allows the capacitor to discharge safely.
Never skip these steps. The few minutes they take are not worth the risk.
H2: Step-by-Step Guide to Cleaning Your Condenser Coils
Step 1 — Remove the Top Cover and Fan Assembly
Most condenser units have a top grille or fan cover secured by screws around the perimeter. Remove these screws and carefully lift the cover. The condenser fan is attached to this cover — lift it gently and set it aside without straining the wires connecting the fan motor. You don’t need to disconnect any wires for a basic cleaning.
If your unit’s top cover isn’t removable that’s fine — you can still clean the coils effectively from the outside without removing it.
Step 2 — Remove Large Debris from Inside the Unit
With the top cover removed look inside the unit. You’ll likely find leaves, seeds, grass clippings, and dirt that have fallen in through the top grille over the past year. Remove all of this by hand or with a shop vacuum. Never use a leaf blower inside the unit — the high velocity air drives debris deeper into the coils and can damage the fins.
Step 3 — Straighten Any Bent Fins
Look at the fins around the outside of the unit. These thin aluminum strips are easily bent by impact, hail, or pressure washing — and bent fins block airflow just as effectively as dirt does.
Use a fin comb — a simple tool with different sized teeth designed to fit between the fin spacing on different units — to gently straighten bent fins. Work slowly from top to bottom in smooth strokes. Don’t force bent fins back with a screwdriver or anything sharp — fin combs are inexpensive and the right tool for this job.
Step 4 — Apply No Rinse Coil Cleaner
Shake the coil cleaner can well, then spray it evenly across the entire surface of the fins from top to bottom. The cleaner will foam up immediately as it reacts with the dirt and debris in the fins.
Allow it to soak for 5 to 10 minutes. During this time the foam is breaking down grease, dirt, and biological buildup deep inside the fins where your hose can’t reach.
If you don’t have coil cleaner you can skip to the next step and use water only — but plan to pick up coil cleaner for your next annual cleaning as it makes a meaningful difference.
Step 5 — Rinse the Coils with a Garden Hose
This is the step most homeowners get wrong. The correct technique is to rinse from the inside out — position your hose nozzle inside the unit and spray outward through the fins. This pushes dirt out the way it came in rather than driving it deeper into the coils.
Use a gentle stream — not a jet or pressure wash setting. The fins are thin aluminum and bend easily under pressure. A standard garden hose on a fan or shower setting is all you need.
Work your way around the entire unit, rinsing each section of fins from inside out until the water running out of the fins runs clear.
Step 6 — Rinse the Inside of the Unit
While you have the top removed spray down the inside bottom of the unit to flush out any remaining debris, dirt, and coil cleaner residue. Most condenser units have drainage holes in the base — the water will drain out naturally.
Step 7 — Reassemble and Restore Power
Replace the top cover and fan assembly, reinstalling all screws securely. Replace the disconnect block in the outdoor disconnect box. Go back to your electrical panel and switch the AC breaker back on.
Wait at least 30 minutes before turning your AC on in cooling mode. This gives the coils time to dry and allows the system’s pressure to stabilize after being off.
Step 8 — Test Your System
Set your thermostat to cooling mode and lower the temperature below the current room temperature. Go outside and confirm the condenser fan is spinning and the unit is running. After 15 to 20 minutes check that your vents are blowing noticeably cooler air than before.
Most homeowners notice an immediate improvement in cooling performance after cleaning heavily soiled coils.
H2: What Not to Do When Cleaning Condenser Coils
Knowing what to avoid is just as important as knowing the right technique:
Never use a pressure washer. This is the most common and most damaging mistake. Even a low pressure setting is far too powerful for condenser fins and will bend them flat — essentially destroying the coil’s ability to transfer heat. A garden hose is all you ever need.
Never spray water into electrical components. Avoid spraying directly at the electrical connections, capacitor, or control board inside the unit. These components are generally well protected but concentrated water spray can cause damage or corrosion over time.
Never use household cleaners or bleach. These can corrode the aluminum fins and copper tubing. Use only cleaners specifically formulated for AC coils.
Never run the system immediately after cleaning. Give it at least 30 minutes to dry before switching on cooling mode.
Never reinstall the top cover without checking the fan blade. While the cover is off take a moment to inspect the fan blade for cracks, chips, or damage. A damaged fan blade can fly apart at high speed and cause serious injury or damage to the unit.
H2: Signs Your Condenser Coils Need Immediate Attention
Don’t wait for your annual cleaning if you notice any of these warning signs:
- Your AC runs continuously without reaching the set temperature
- The outdoor unit feels extremely hot to the touch
- You notice ice forming on the refrigerant lines
- Your energy bills have increased significantly without explanation
- The outdoor unit is making a rattling or vibrating noise it didn’t make before
- You can visibly see the fins are packed with debris, cottonwood seeds, or grass
Any of these symptoms suggests your coils may be restricting airflow enough to impact performance and potentially damage the compressor.
H2: Professional Coil Cleaning vs DIY
For most homeowners DIY condenser coil cleaning is completely adequate when done correctly and consistently. A 30 minute annual cleaning with proper technique keeps coils in excellent condition and avoids the $75 to $150 charge for a professional coil cleaning service.
However there are situations where professional cleaning makes sense:
- Coils that haven’t been cleaned in several years and have heavy oxidation or corrosion buildup may need a professional chemical cleaning treatment
- Units in difficult to access locations
- Coils with extensive fin damage that requires professional straightening
- Any situation where you’re not comfortable working near electrical components
If you do hire a professional make sure coil cleaning is explicitly included in the service — some basic tune up packages include only a visual inspection rather than an actual cleaning.
H2: How to Keep Your Condenser Coils Cleaner Longer
A few simple habits significantly reduce how often your coils need deep cleaning:
Keep vegetation trimmed back. Maintain at least two feet of clearance around all sides of your unit. Plants and shrubs not only restrict airflow but shed leaves, seeds, and debris directly onto your coils.
Direct your lawn mower discharge away from the unit. Grass clippings are one of the most common sources of condenser coil buildup. Always mow so clippings blow away from your unit.
Install a condenser coil guard. A simple mesh guard around the base of your unit catches large debris before it reaches the fins. These cost $20 to $50 and dramatically reduce debris accumulation in units surrounded by landscaping.
Rinse lightly after dust storms or heavy pollen seasons. A quick rinse with a garden hose after a heavy pollen event or dust storm takes two minutes and prevents buildup from becoming embedded in the fins.
H2: Frequently Asked Questions
Q: How do I know if my condenser coils are dirty without removing the cover? Look at the fins on the sides of your outdoor unit. If they look visibly clogged with dirt, grass, or debris rather than showing clean metal, they need cleaning. You can also run your system for 15 minutes and feel the air being discharged from the top — it should feel noticeably warm as it’s carrying heat out of your home. Weak or barely warm discharge air suggests poor heat transfer from dirty coils.
Q: Can dirty condenser coils damage my AC compressor? Yes — this is one of the leading causes of premature compressor failure. When coils are heavily soiled the compressor has to work at much higher pressures to move heat out of the system. Sustained high pressure operation overheats the compressor and dramatically shortens its lifespan.
Q: Do I need to clean the indoor evaporator coils too? Yes — both sets of coils should be cleaned annually. The evaporator coil inside your air handler accumulates dust and biological growth over time. Cleaning it requires opening the air handler cabinet and is a slightly more involved process than cleaning the outdoor condenser coils.
Q: My fins are heavily bent — can I still clean the coils? Yes, clean them first, then straighten the fins with a fin comb. Trying to straighten fins while they’re packed with debris is harder and less effective. Clean first, straighten after.
Q: How long after cleaning can I run my AC? Wait at least 30 minutes after rinsing before running the system in cooling mode. This allows the coils and internal components to dry and the system’s refrigerant pressure to stabilize.
Q: Will cleaning my condenser coils really lower my energy bill? Yes — multiple studies have shown that dirty condenser coils increase energy consumption by 10 to 30 percent. Homeowners with severely fouled coils often report a noticeable drop in their energy bill the first month after a thorough cleaning.